Setting up for Leak Testing
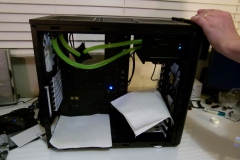
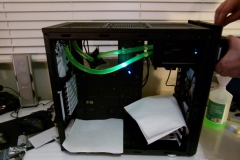
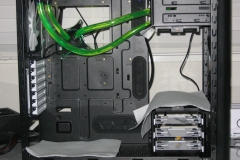
This job was much easier with 2 people. The water block is heavy and the attached tubing makes it a little awkward. the last thing we wanted to do was damage the motherboard by letting the water block hit or catch it. First, we removed the power supply followed by the Radiator Fans. The radiator fans were blocking access to the top row of motherboard screws. The motherboard screws were removed and the board carefully taken out of the case, placed in an antistatic bag and back in its retail box. The hard drives had not yet been installed properly and all of the internal IO cable headers were fed out of the case. We checked the drain plug on the back of the reservoir for about the third time to make sure it was snugly sealed and then set about preparing to fill the loop. The CPU water block was positioned/balanced to rest on the inner edge of the CPU cut out in an effort to exert similar pressure on the hosing that would be present when correctly fitted to the motherboard.
Adding Water At Last
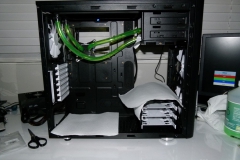
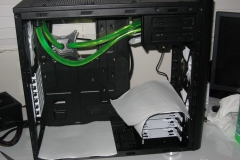
Filling the water loop is easy – we bought a small funnel from our local supermarket and used this to fill the reservoir to the top as per the instructions. Once the reservoir is full and some of the lines had water in them, we turned the pump on. The pump drained the reservoir very quickly and sent coolant and air sputtering through the loop. As we added more and more coolant, the bubbles settled down and the light foam started to look like the green liquid that we were pouring into the reservoir. We didn’t fill the reservoir right to the top in order to see the contrast of the coolant – we have since topped it up after the reviews. In the first 10 minutes after filling the loop, there was the occasional air bubble in the lines or ‘slosh’ sound in the pump but that was it. The power supply was stopped and started a few times to see if there were any bubbles we had missed but it looked pretty good, there were some really tiny bubbles in the lines around the barbs but these all disappeared within the 24 hour leak testing period without us needing to do any intervention.
XSPC recommend leak testing for 24 hours so we gave our rig the full 24 hours with the pump running. The white paper towel was placed around the reservoir, the base of the case, and on top of the drive bays. Our intention wasn’t as much to prevent mess as much as it was to be able to actually see any evidence of a leak by way of the green coolant stains. we checked the barbs and low points of the hoses under penlight and couldn’t see any issues – 24 hours later we gave the loop the “thumbs up” and set about re-installing our components.
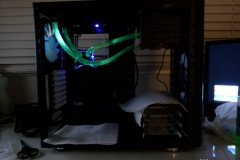
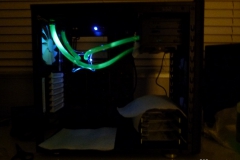
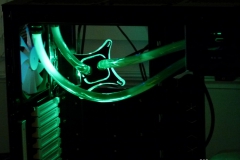
Installing the lights requires the LEDs to be plugged into a Molex connector so we fitted the UV LEDs first and then switched to the green ones later on. We also made sure that the pump and LEDs were plugged into the Molex connectors on the power supply and that the 24 pin ATX power plug provided by XSPC was in place. This plug links 2 pins together, causing the PSU to power up when connected to the mains power without it needing to be connected to a motherboard. The result is that power will flow through to the Molex connectors powering the fans, pump LEDs and anything else you have plugged in (so unplug anything you don’t absolutely need). The lighting shots below were obviously taken with little or no ambient light so they didn’t come out that well but we thought we would include them anyway.

